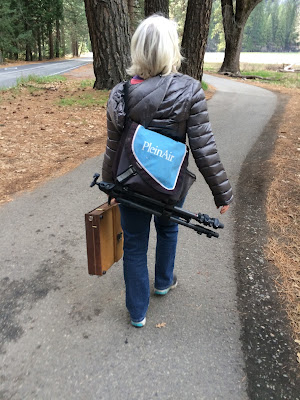
As a traveling plein air pastelist, I have found one thing to be true. Carry less so you can have more. More freedom, more practical thought, more ability to move about, and more joy. You see, pastels are like a piano. You need each key to make a beautiful harmonic composition. With oils, you can travel with as few as four colors to make a painting. Not with pastels, oh no. I would jokingly compare it to carrying an upright piano on your shoulder. I think I carry about 250 pastels in my plein air box and the weight adds up. Some pastelists carry more. My plein air box weighs 14 pounds when fully loaded and so I lovingly call it my "Box of Rocks". So it is no wonder why I am always on the lookout for ways to make my set-up less heavy and complicated.
If one were to calculate all the miles I must have hiked with my current pastel box, it would probably be a combination of 40 miles. If you were to count the time I had to run down the halls of the Portland International Airport with my pastel box back to the North 40 after I discovered I left my precious box behind at the TSA, well then that's another 2 miles. Honestly, I tell you, my pastel box is heavy and cumbersome as with all of them out on the market today. They are just heavy and no getting around that. But what if you could fit it into a backpack and free up your arms, then would that be better? Well yes it would.
You see, I currently use an
Open Box M that I have modified to allow the best set up situation and ease of use, but honestly, I have been using it less and less in long distance events because of it's size and weight. Also what adds to the total bearing weight is the tripod I have to tote around for which it sets upon. A tripod must be lightweight as well as able to carry a payload of 10 lbs over the box's weight. So say your box weighs 11 lbs., then your tripod should be able to withstand 21 lbs. Why the extra payload requirement? Ballast. You need ballast to hold your box down on the tripod so it won't blow over in case of a hefty gust and to avoid a top-heavy set up. No pastel artist wants to pick up a pile of broken pigment chips on the ground in the middle of a beautiful painting experience.
Well, that wish may come true. I am partnering up with artist, owner, and developer
Bryan Mark Taylor of
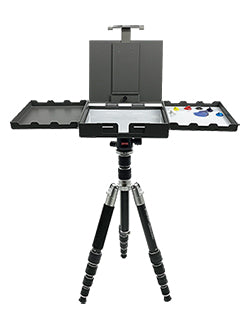
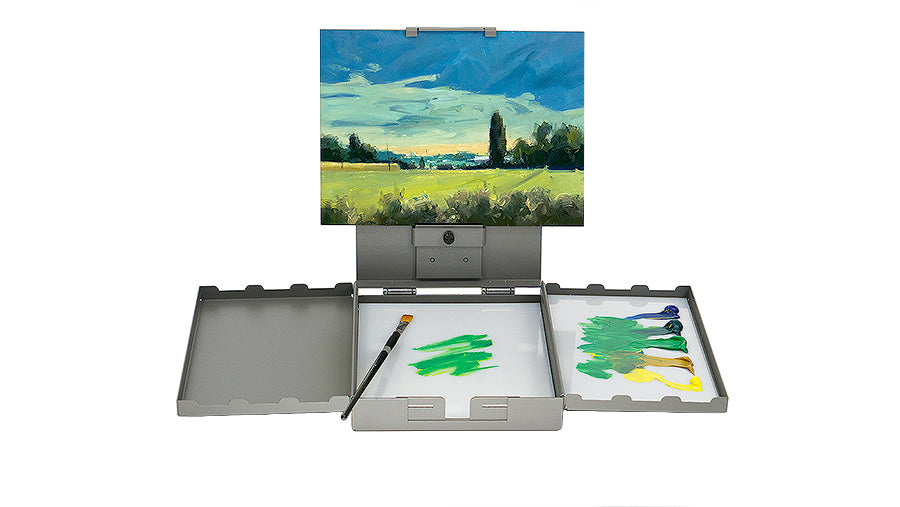
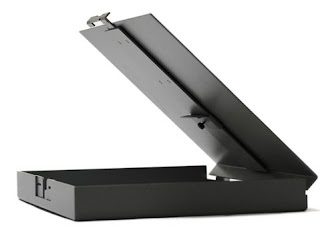
Strada Easel to modify his sweet little pochade box into a pastel box. The Strada box is sleek offering a tension closure that acts as a panel holder. That means there are no nobs or wing nuts to catch onto anything and making it easy to put into a backpack. It is sturdy. The Strada is made of powder coated aluminum that makes it nearly bomb proof. It's compact, making it smaller than the average pastel box. It has additional "wings" that can be added to the sides of the box for extra pastels and can be folded upon themselves to easily pack away.
So in order to make the Strada "pastel friendly" I made a few simple modifications that I will share with you here:
A good pastel box needs to be lined with foam to keep the pastels from rolling around and getting crushed. So I searched for Memory Foam online and found
Foam Source, a manufacturer who will customize memory foam to fit exactly the parameters set. I measured my Strada Box's interior dimensions of depth, width and height for both the bed and the lid and a little extra for the walls of the box, as well as the side wings.
For the 11x14 Strada Box, I ordered:
(1) Soft Memory Foam 16.5 x 12 x .5" (for the bed of the box)
(1) Soft Memory Foam 15.5 x 12 x .5" (for the lid)
(1) Soft Memory Foam 15.5 x 11 x .5" (extra just in case)
I tacked on an extra inch to measurements of the bed to tape to the walls of the box.
Because the foam is a bit "stretchy" you will need to press firmly down to
trim the memory foam so it doesn't drag and allows a clean, uniform cut.
checking the fit before setting it with adhesive
There is a peg in each corner of the box where they poke through. I am not sure what the purpose is for the pegs, but I suppose they are important for it's oil painting purposes. I will have to remove the pegs so there won't be a hard bump for a pastel to break on.
I had my handy Dad machine them off in a snap. Thanks Dad!
Next, I measured the exact bed dimension and cut some double-sided
adhesive for the foam to stick to. You can see there is a small peg remaining in the upper center area of the bed. That peg is a "must" for the tripod head to attach. When I set in the pastels, I will have to "remember" to avoid resting them on that peg.
Peel the paper off of the double sided adhesive.
Also affix the double-sided tape to the inner sides and
place the foam and press into place.
Here is the bed lined with the memory foam. All while I am building this interior bed, I am always checking the fit, measuring, and testing any challenges. When I checked the closure or the lid, I noticed that the bottom panel bracket would have to be removed when closed as it would crush the pastels and the pastel cover.
So I needed a nifty little spot to put the bracket and decided to cut a bit into the bed
And protect the pastels from the panel bracket by tucking it behind the inner liner.
Nearly done, but just a few more special things to do...
Next, I had to make a padded cover to protect the pastels from the lid.

I measured and cut a piece of heavy duty illustration board to act as a base for the inner lid.
Again, I applied double sided adhesive to the inner lid
and then cut and attached the memory foam to fit.

I modified the lower left of the inner lid to fit snuggly around the panel bracket.
Then the side trays were also adapted with memory foam.
The larger of the two side trays doubles as a lid and a working space.
The small side trays close up like a small box and then strapped closed with 3 super-duper rubber bands. Use (2) 6" and (1) 9"super-duper rubber bands from
PanelPak.
Then I scored the middle of the foam so I could place a thin piece of foam core down the middle lengthwise to give support and structure to the loose pastels.
A perfectly pretty box in every way.
It closes up snuggly.
Fully assembled with side trays and clip in place on the easel. Now all I need is to find that special tripod and I'm set for easy travel. This entire set up weighs in at 11.2 lbs.
Things I learned:
Measure twice, cut once.
Always order a bit more than you need. In case you make a mistake, then you won't be delayed in another shipment.
Order a foam thickness of 3/8", not .5" so the box will close a little better.
Constantly check for obstacles. There are always a few surprises when modifying a box.
Think of creative ways to solve a problem.
Strada weighs 11.2 lbs / Open Box M weighs 14 lbs. I lost 2.8 lbs!
* (Open Box M no longer makes a box for pastels)
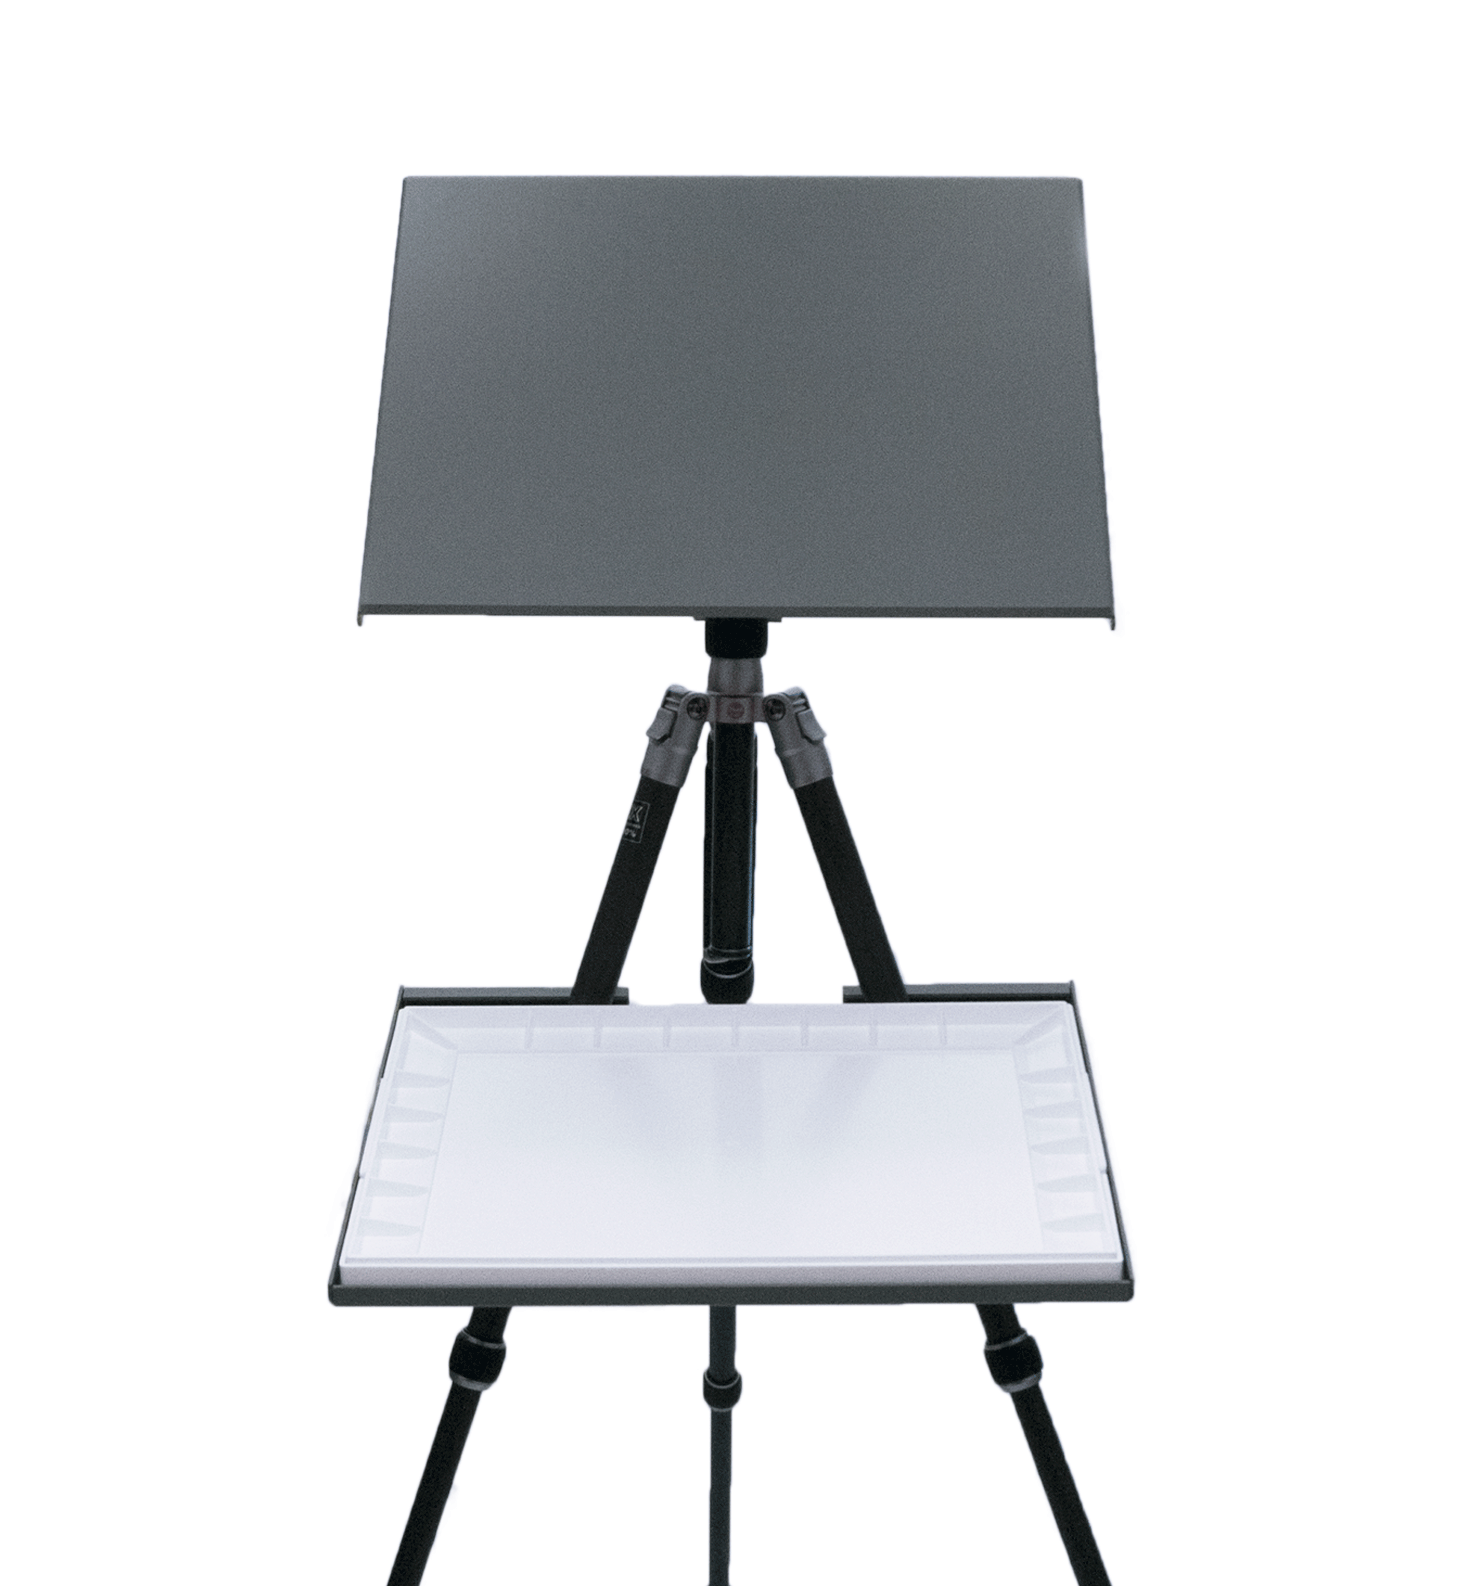
To make this box complete and ready for the field, I will need a tripod that fits these specs:
Folded length: 16.5"
Weight: 2.5-3 lbs or less
Payload: 21 lbs
Clamp legs/ twist are second best in my opinion.
Carbon Fiber
Quick release ball head
Reasonably priced $200-$400.
Wishing my dreams will come true.
So there you have it, a modified Strada for pastels. What do you think? I would love to hear your thoughts on this by sharing you comments in the comment box below.
~ Brenda
Go to Brenda's blog at: http://brendaboylan.blogspot.com/2016/03/a-new-option-for-pastel-plein-air.html
For more great info on plain air painting with pastels.




Glenda Lyons
August 18, 2020
Thank you so much for this. I have tended to stick to watercolour in the field and then use my sketches to complete a larger work in the studio! I am s o inspired by your adaptation and am saving like mad to get myself a Strada. I assume you have the standard not the mini.